X-ray stress analyzer
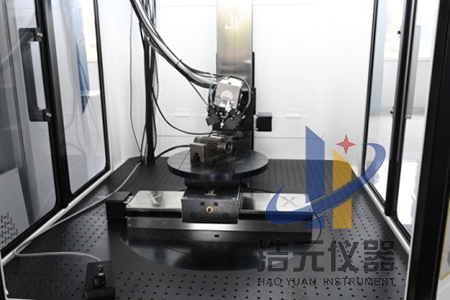
DS-21L vertical X-ray stress tester
It can test the residual stress and residual austenite of metal and non-metallic product parts, and its excellent performance can be demonstrated by laboratory and workshop use.
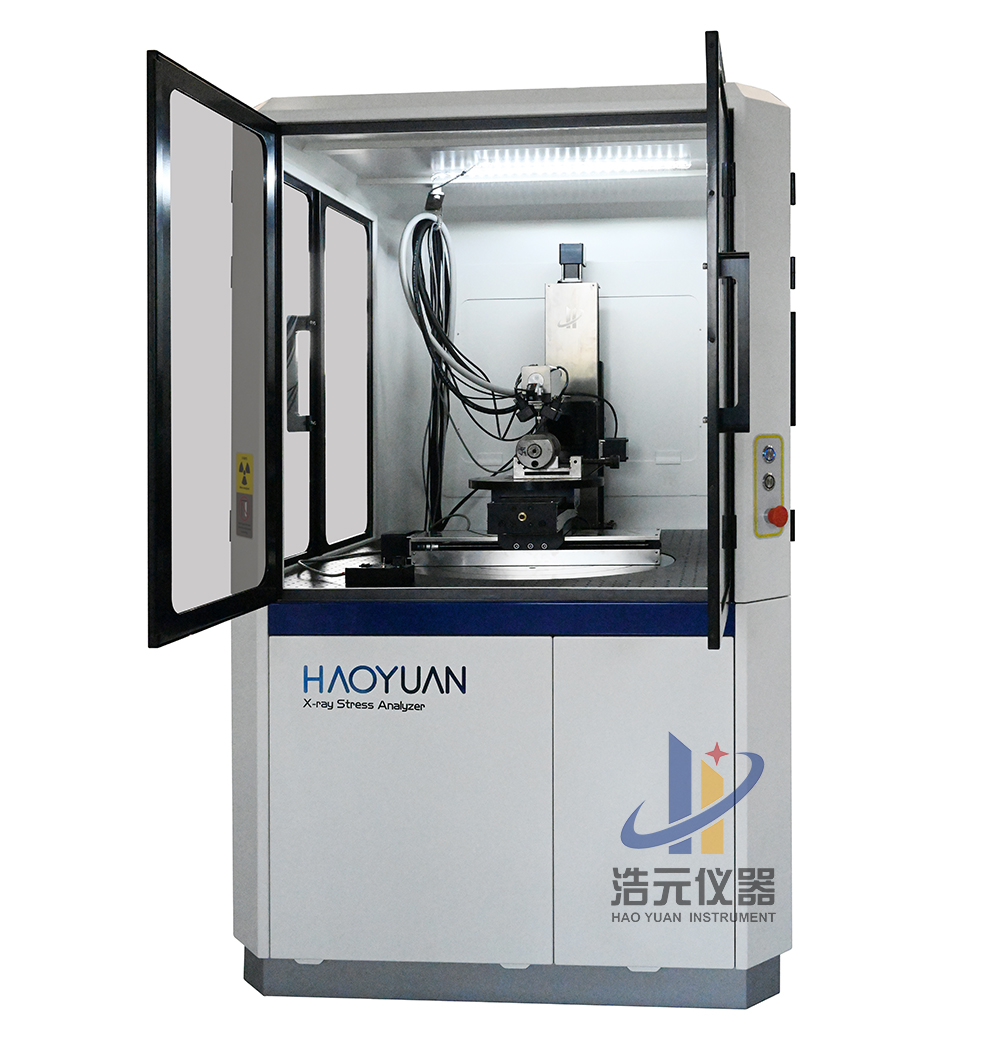
Fast and accurate, take more than 9ψangle each time when measuring , single point stress measurement can be completed within one minute.
Easy maintenance and continuous operation.
The 3kW high-power source is used to quickly and accurately measure the materials with low diffraction peaks, such as nickel alloy and titanium alloy. The minimum spot size is 0.1mm. The micro-area residual stress analysis can also be carried out.
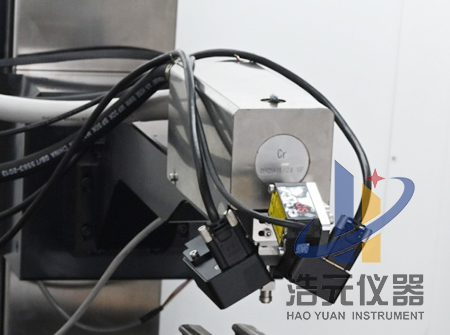
Dual semiconductor linear array detector technology enables the measurement of shear stress while measuring direct stress.
The 2θ angle range of each detector is 35°, the counting rate is greater than 109CPS, and the counting saturation will not occur.
The laser displacement sensor is used to indicate the measuring position and determine the height of the diffraction surface to achieve rapid positioning.
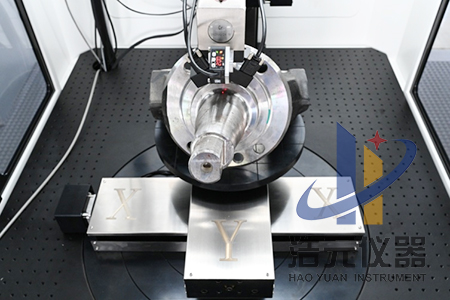
The Z-axis movement range is up to 600mm, which can measure the stress of larger workpiece.
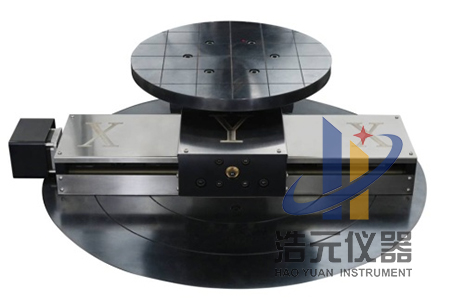
The manual and automatic 3-axis sample table, with X-axis (travel 300mm), Y-axis (travel 200mm) and Φ(0-360°), is configured to measure the main stress and the direction of the main stress, and also can realize the full automatic stress nephogram measurement.
2θ angle range: 105°-170°.
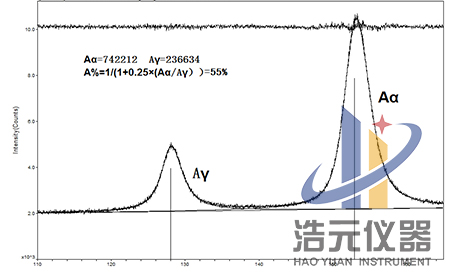
Austenite content measurement can be realized by one exposure.
Ψ angle range: - 35°~50°, swing angle range: 0~8 °.
The standard deviation of stress for five consecutive measurements of unstressed iron powder is less than ±5MPa.
The fully enclosed lead glass protective cover provides radiation safety protection in accordance with ANSI N43.2 and other standards. Standard lead glass protective cover size: 0.9 × 1.4 × 1.6m, the size of the protective cover can be customized according to the user's requirements.
X-ray tube
The cermet X-ray tube with independent intellectual property rights is heat-resistant, anti-seismic, durable and easy to replace. It can be replaced within minutes without special tools. Built-in circulating water is used for cooling, which can ensure stable work for a long time.
A variety of optional targets can obtain high-quality diffraction peaks during stress measurement, so as to ensure the accuracy of stress measurement results. Optional targets: Cr, Mn, Cu, Co, Fe, V, etc.
The product conforms to ASTM E915-2010, EN15305-2008, GB7704-2016 and other residual stress analysis and testing standards.
Software:
The software adopts two methods of fitting: straight line and ellipse. The complete stress equation and ellipse fitting method without assuming that the shear stress is zero are used to measure the shear stress value while measuring the direct stress. The peak shape fitting functions include Gaussian, Lorentz, Pearson peak shape fitting, parabola, etc. In addition to direct stress value and shear stress value, the test results also include important information such as peak strength, integral width, half-height width, etc.


