X-ray stress analyzer
DS-21P Portable stress analyzer
Designed for measuring residual stress and residual austenite content in the field, laboratory and workshop.
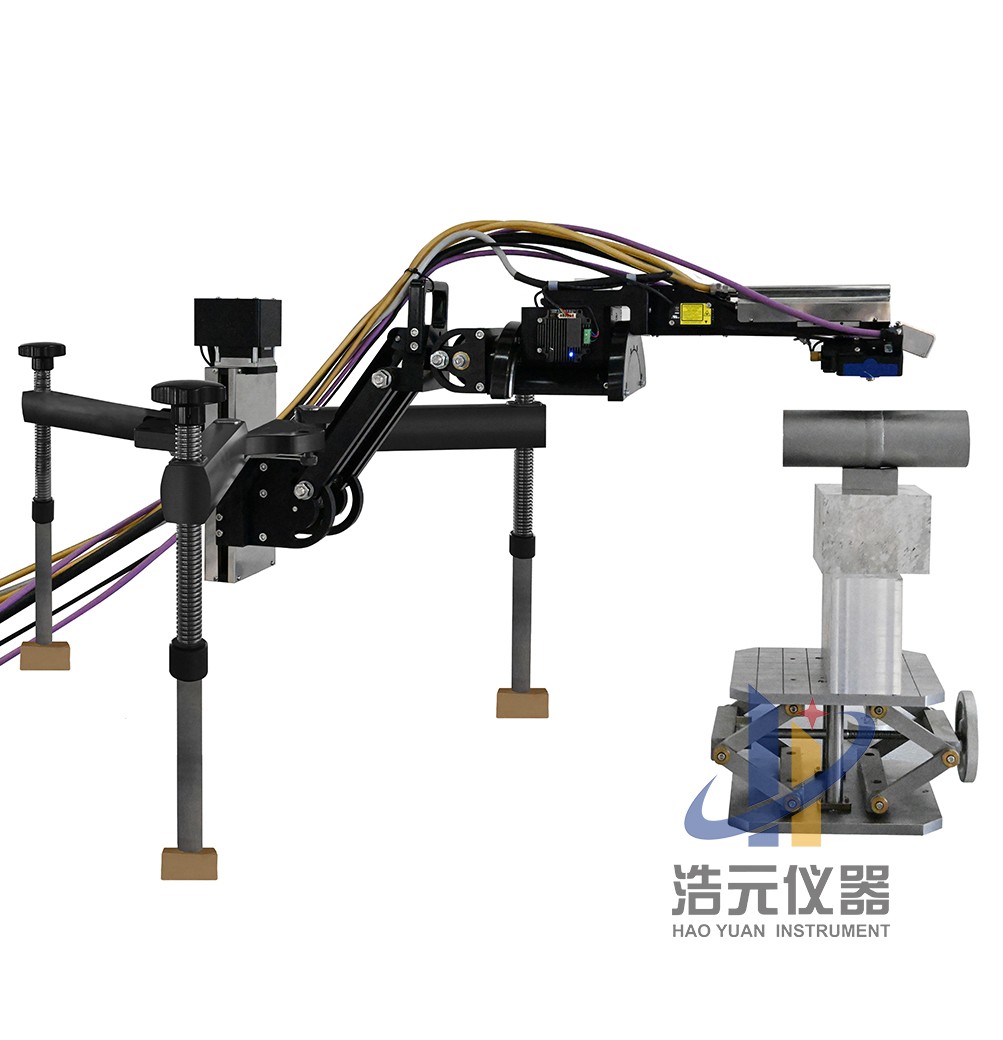
Excellent portability, the weight of the whole set is less than 20kg (including goniometer and standard bracket).
High accuracy, more than 9 ψ angles are taken for each measurement , can quickly complete the stress measurement of one point.
Dual semiconductor linear array detector technology enables the measurement of shear stress while measuring direct stress.
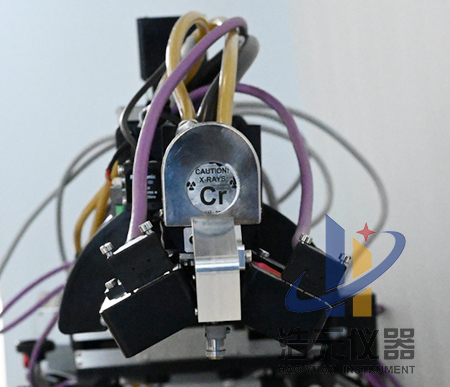
The 2θ angle range of each detector is 35°, the counting rate is greater than 109CPS, and the counting saturation will not occur.
The laser displacement sensor is used to indicate the measuring position and determine the height of the diffraction surface to achieve rapid positioning.
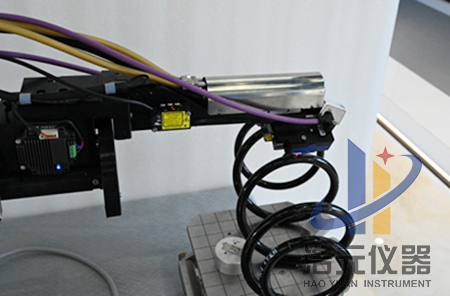
The manual and automatic X-axis (travel 300mm) and Y-axis (travel 200mm) supports are configured to measure the main stress and the direction of the main stress, and also can realize the full automatic stress nephogram measurement.
Z-axis movement range reaches 300mm, which is suitable for larger size workpiece measurement.
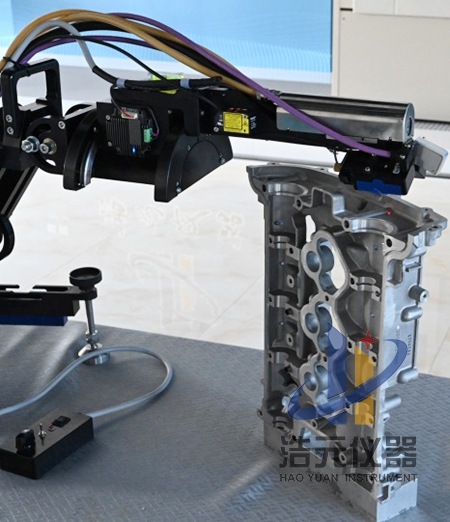
The snake-shaped arm design can adjust the goniometer to all directions without moving the support base, which can realize on-site inspection of various parts of large structural parts.
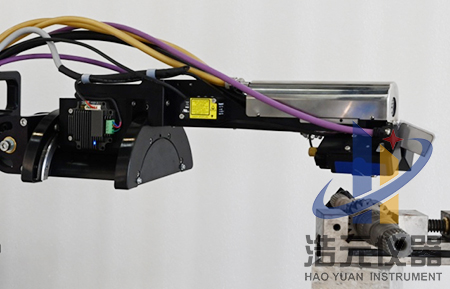
2θ angle range: 105°-170° .
Austenite content measurement can be realized by one exposure.
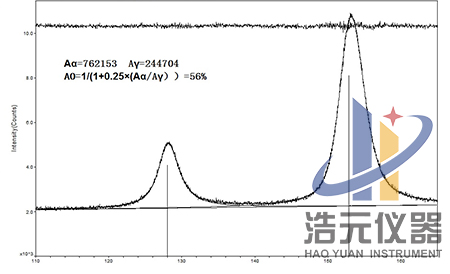
Ψ angle range: - 35°~35°, swing angle range: 0~8 °.
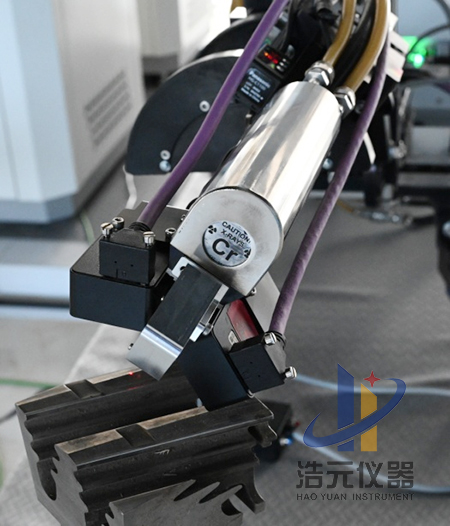
The standard deviation of stress for five consecutive measurements of unstressed iron powder is less than ±5MPa.
X-ray tube
The cermet X-ray tube with independent intellectual property rights is heat-resistant, anti-seismic, durable and easy to replace. It can be replaced within minutes without special tools. Built-in circulating water is used for cooling, which can ensure stable work for a long time.
A variety of optional targets can obtain high-quality diffraction peaks during stress measurement, so as to ensure the accuracy of stress measurement results. Optional targets: Cr, Mn, Cu, Co, Fe, V, etc.
The product conforms to ASTM E915-2010, EN15305-2008, GB7704-2016 and other residual stress analysis and testing standards.
Software:
The software adopts two methods of fitting: straight line and ellipse. The complete stress equation and ellipse fitting method without assuming that the shear stress is zero are used to measure the shear stress value while measuring the direct stress. The peak shape fitting functions include Gaussian, Lorentz, Pearson peak shape fitting, parabola, etc. In addition to direct stress value and shear stress value, the test results also include important information such as peak strength, integral width, half-height width, etc.


